
I’m proud to say that after 5 years of studying computer science, I can finally build a nice static website now (without using anything I learned in class), complete with build pipes and a UI editor. And after following this post, if your relatives or friends hear that your studying CS, and hit you with the classic question “so can you make me a website?”, you can tell them that you can, but you probably wouldn’t want to—unless you receive a very decent compensation of course.
Also note that I am not a full stack developer (I only make blogs), so please do correct me if I say anything wrong about websites.
Background
What are static websites?
A static website doesn’t mean that the site’s content is non-responsive or non-interactive, which is what I thought for the longest time. Instead, it denotes a kind of site where all viewers who visit the same page will see the same content. This means that when a user requests a page from a static website, the web server just has to retreive the stored HTML, CSS and JS files and send them to the user, without any additional processing. Examples of static websites include blogs (like this one!), portfolios, or business websites.
On the other hand, the other type of website is a dynamic website, which provides customized content for each user. It achieves this by generating the site content in real-time using server-side scripting. In this process, when the user requests a webpage, the web server retrieves data from the site’s database, and creates/returns a customized file for the specified user. This means a dynamic website can provide targeted content based on the user’s location, settings and/or preferences. Most complex websites are dynamic, for example e-commerce sites like Amazon and Shopify, or entertainment sites like Netlifx and Youtube.
Of course we won’t need a dynamic site for a blog like this one, so we’ll go ahead with a static website.
What tools do we need?
- Static Site Generator → Hugo
- Headless CMS → Decap CMS
- Build & Deploy → Netlify
A brief description of each of these tools below:
Static Site Generator (SSG)
A static site generator takes in the data and content of a site, and generates a ready-made frontend. This is amazing because developers won’t need to deal with the UI much, if at all; instead, they can just pick from a variety of open source themes to adopt and plug their content into. Another powerful aspect of static site generators is templating: this means that SSGs create templates for common elements like headers and footers that can be reused across many HTML pages (for example, all the blog posts on a blog will probably have the same header/footer). In addition, a third advantage of SSGs is that site pages are pushed to the content delivery network (CDN) during build time. This takes away the work required from the web server at request time, resulting in better performance and faster load times.
There are a variety of Static Site Generators to pick from (see the Jamstack website for a complete list). I personally chose Hugo because I’m not the biggest fan of JavaScript, but you can use any static site generator.
Headless CMS
CMS refers to a Content Management System. A headless CMS is a way of managing content such that the backend content is decoupled from the frontend view. For our use case, we will utilize Decap CMS to give us a nice frontend UI to edit the content. This means that we will have an admin webpage on our website that allows editors to log in and edit the content directly, without accessing the code repository. Decap CMS does this by communicating with GitHub to read/update content. Of course, this step is nice to have, but optional if you don’t need an online UI editor to update your content, and just want to do so via your code editor.
Build and Deploy
We will use Netlify as our tool to deploy and host our website.
Set-up
Now that we got through the boring stuff, we’re ready to set-up our website (yay!). Note that I will be working on WSL (Windows Subsystem for Linux), so any commands shown will be for Linux. Since there’s lots of official docs or unofficial guides that exists already which describe the steps better than I can, I will just outline a summary of all the steps, and then link each doc or guide that I personally followed.
Create a Hugo site
For Hugo’s official installation docs, see here . I think the hardest part was actually installing Hugo because I found their set-up guide kind of confusing, so I copied the commands I used to do this below:
- Download the latest Hugo release, either on the command line, or from the Hugo repository
wget https://github.com/gohugoio/hugo/releases/download/v0.124.1/hugo_extended_0.124.1_linux-amd64.tar.gz
- Extract the tarball contents
tar -xf hugo_extended_0.124.1_linux-amd64.tar.gz
- Install hugo
sudo apt install hugo
- Verify the installation worked
hugo version
After installation, you can use the Quick Start Guide to create your new website!
Tip: Note that you get to pick a theme for your site. It’s important to choose one that looks well maintained and documented, as you will need to customize it later on!
Deploy with Netlify
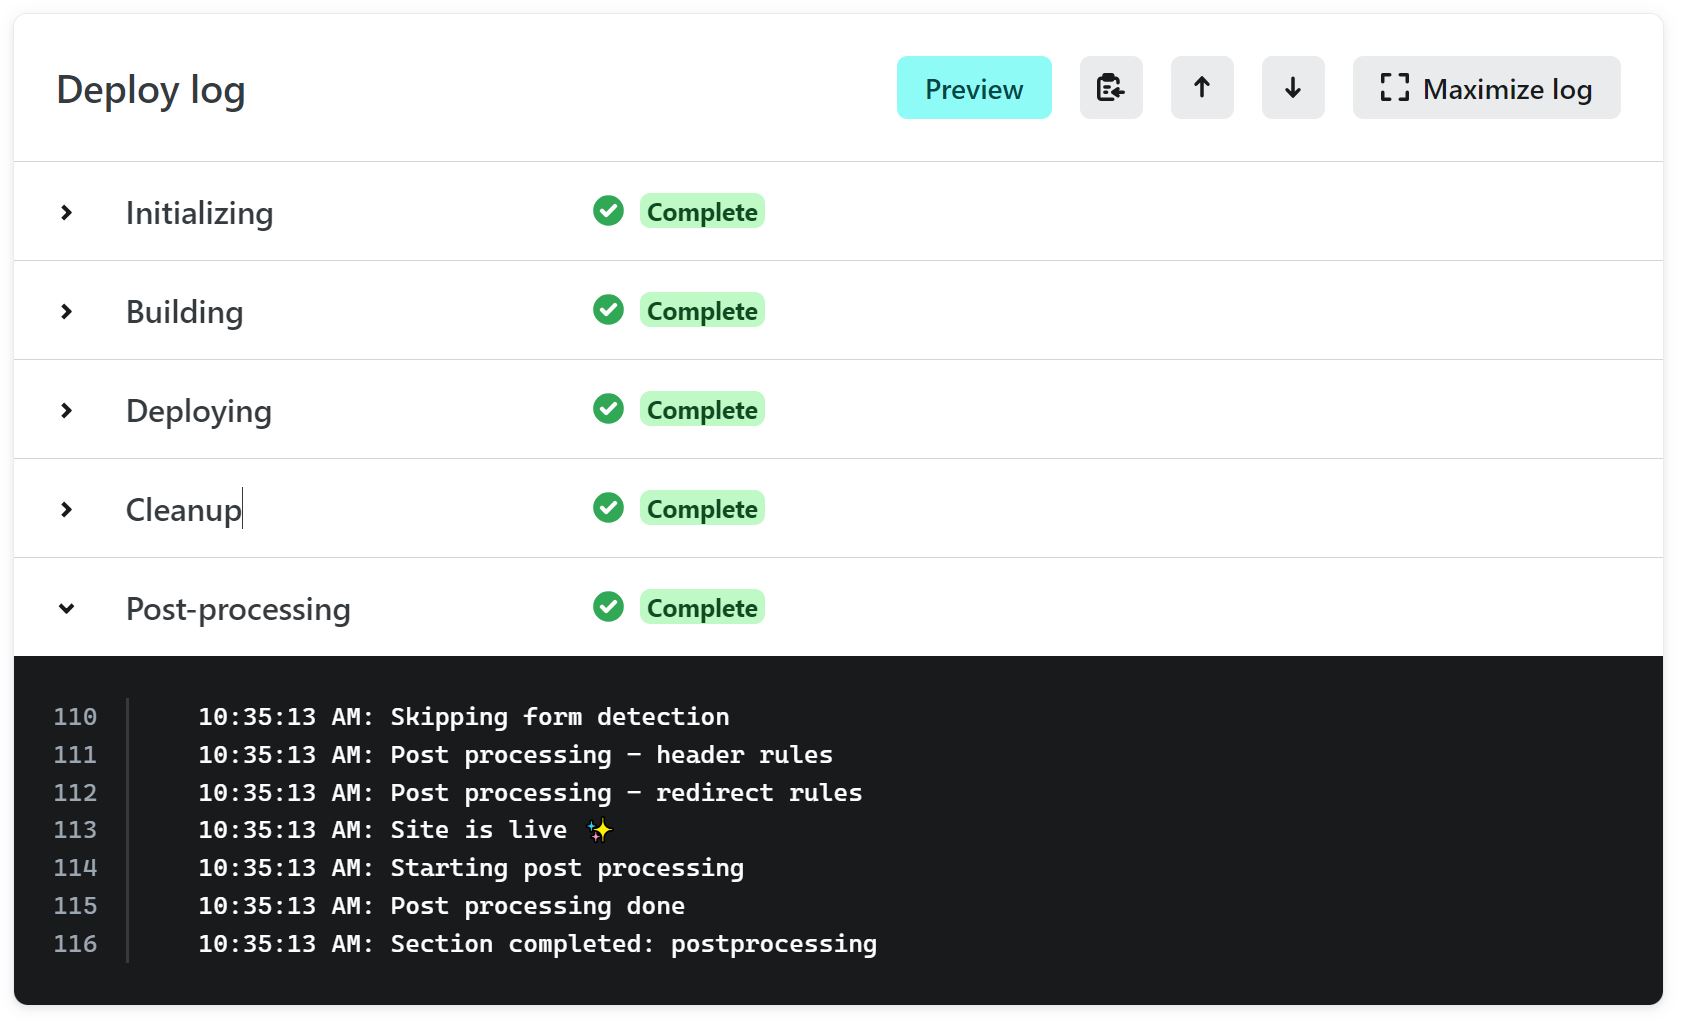
To deploy our site on netlify, all we have to do is create a Netlify account, connect it to our git repo, and then add our build settings (i.e., hugo to build our site). The Netlify docs
are pretty straightforward for this part. Netlify provides some very nice build pipelines, which run automatically when you commit on main (this means that our live site will be updated too). We can also trigger manual builds via the Netlify UI.
The site will be live at a ...netlify.app/ url. We can also chose to connect to a custom domain.
Integration with Decap CMS
Decap CMS has a page on integrating Decap CMS with Hugo, but I found this blog post by Arsh Sharma to be more detailed.
Add Google Analytics (GA)
After you’ve published your site on Netlify, you probably would like to know how many visitors your site is getting. To do this, you just have to sign up for a google analytics account, get a tracking ID, and add it to your Hugo config files. I found this blog post to be very clear.
And that’s a wrap! Have lots of fun with your new site ✨ 😃